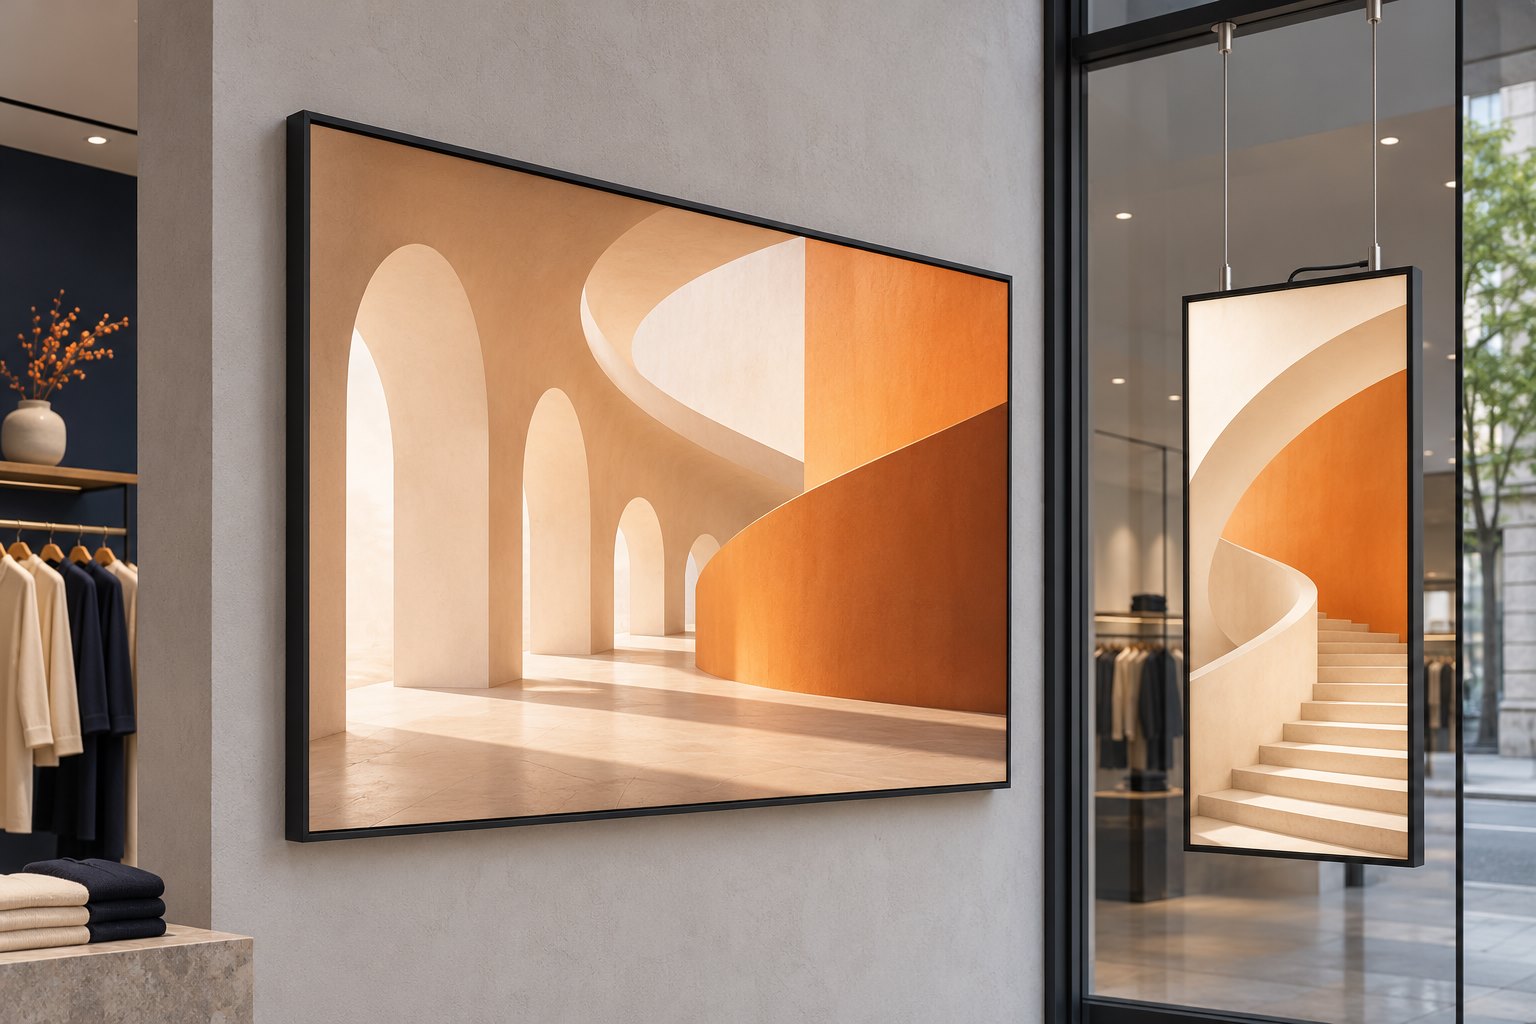
Carry one campaign from the pavement into the shop while keeping the centre of the floor open.
Installation approach
Align the suspended frame with the window bay and mount the second frame on the interior wall. Leave access to both faces for artwork changes.
Check before ordering
Take photos from the pavement and inside the store. Mark the ceiling fixing points and cable route on the same sketch.
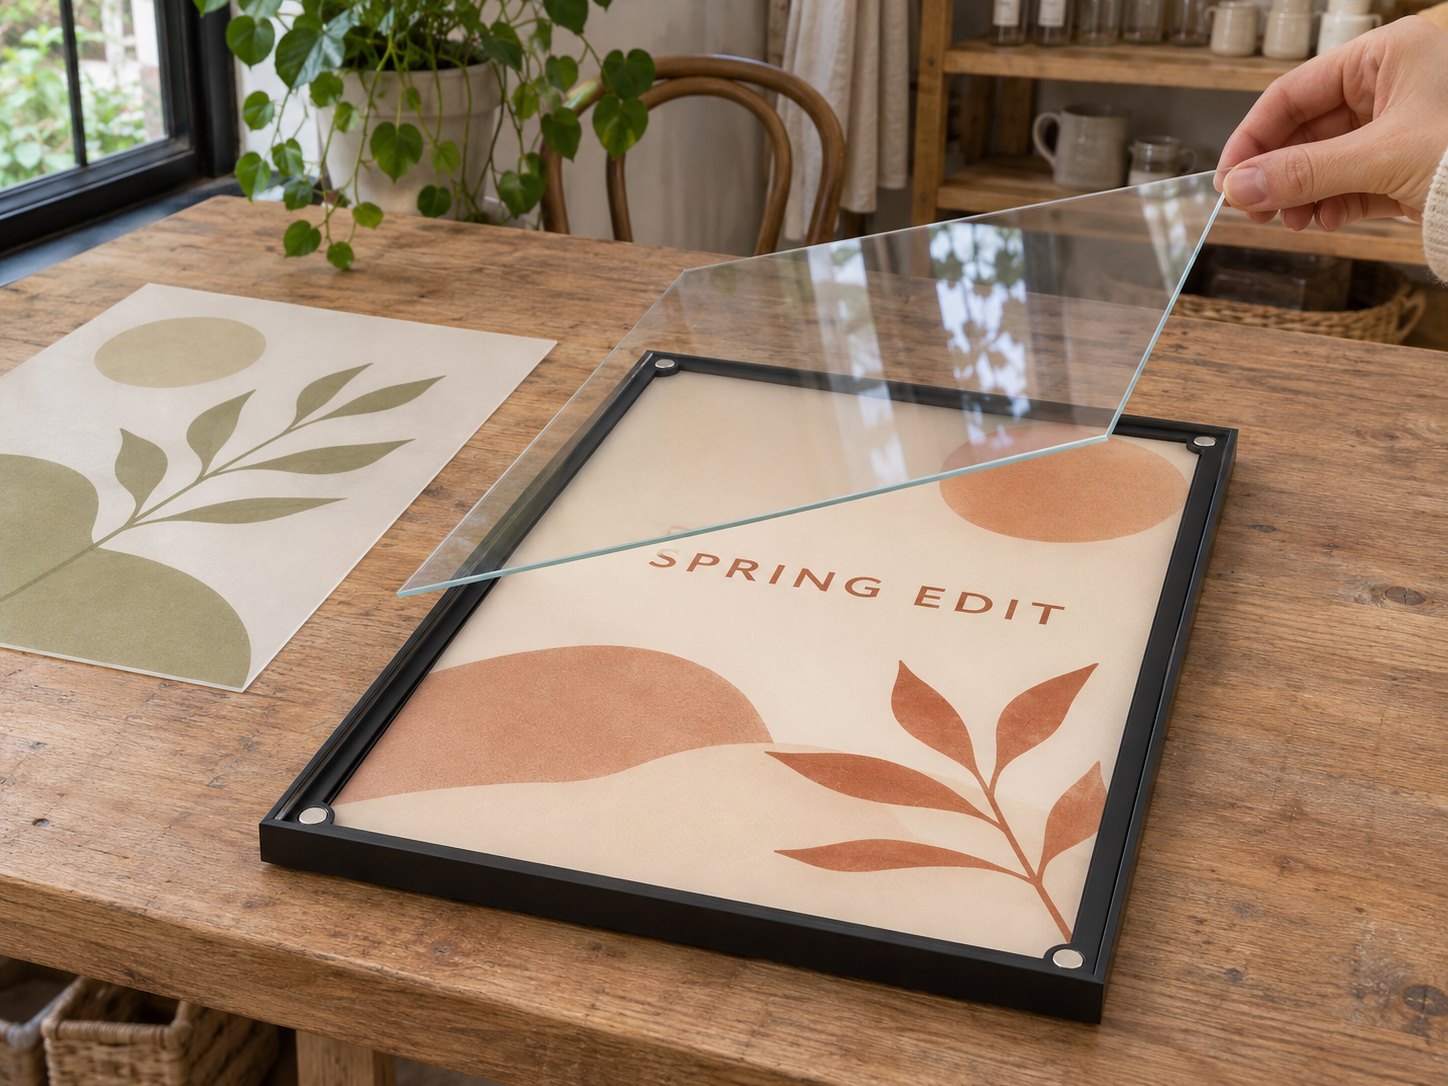
See the frame opened for an artwork changeA lift-off face is one way to access a replaceable graphic. Check that there is room to handle the cover at the installed location.
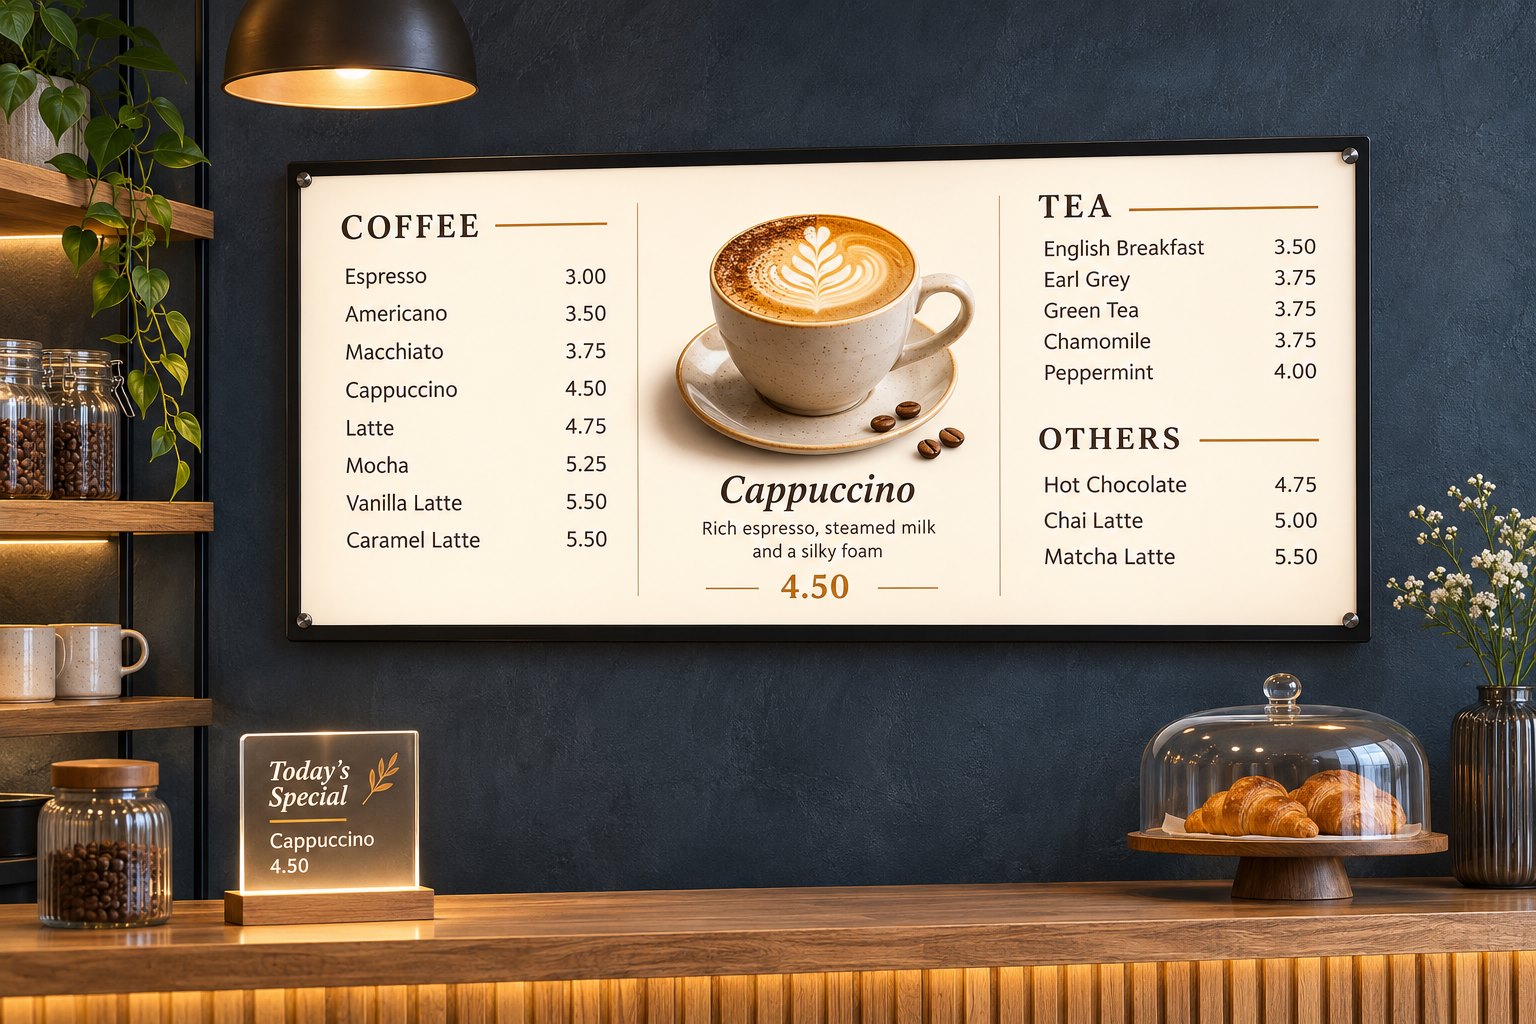
The main board is for the queue. The smaller acrylic sign is read up close.
Café counter · Wall lightbox + tabletop acrylic
A menu wall and a daily special
The brief
Make the full menu readable from the queue and leave room for a message that changes daily.
Installation approach
Place the larger menu on the wall. Put the small panel on a stable part of the counter with a clear cable path.
Check before ordering
Check the text at the back of the queue and leave a clear area for ordering and handover.
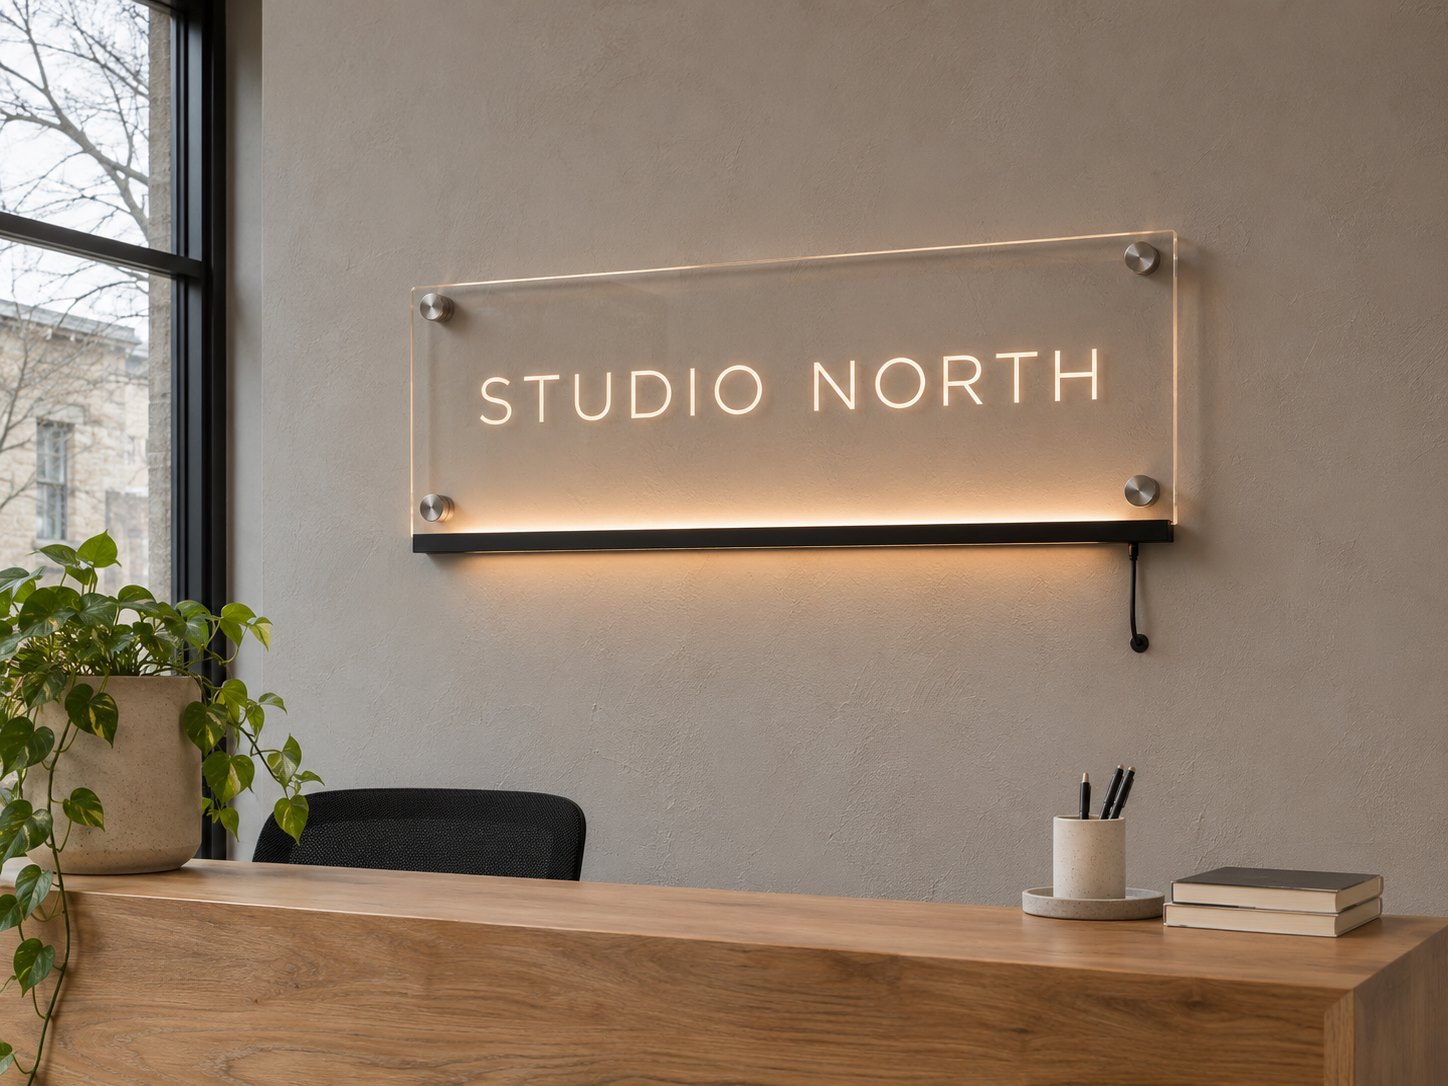
Metal standoffs separate the panel from the wall. The light rail sits along the lower edge.
Studio reception · Edge-lit acrylic on standoffs
A clear logo above the desk
The brief
Give the entrance a visible brand mark while letting the wall finish show through.
Installation approach
Allow for the standoff positions, the bottom light rail and the cable exit when setting the panel height.
Check before ordering
Review reflections from the adjacent window and have the installer confirm the wall substrate and service access.
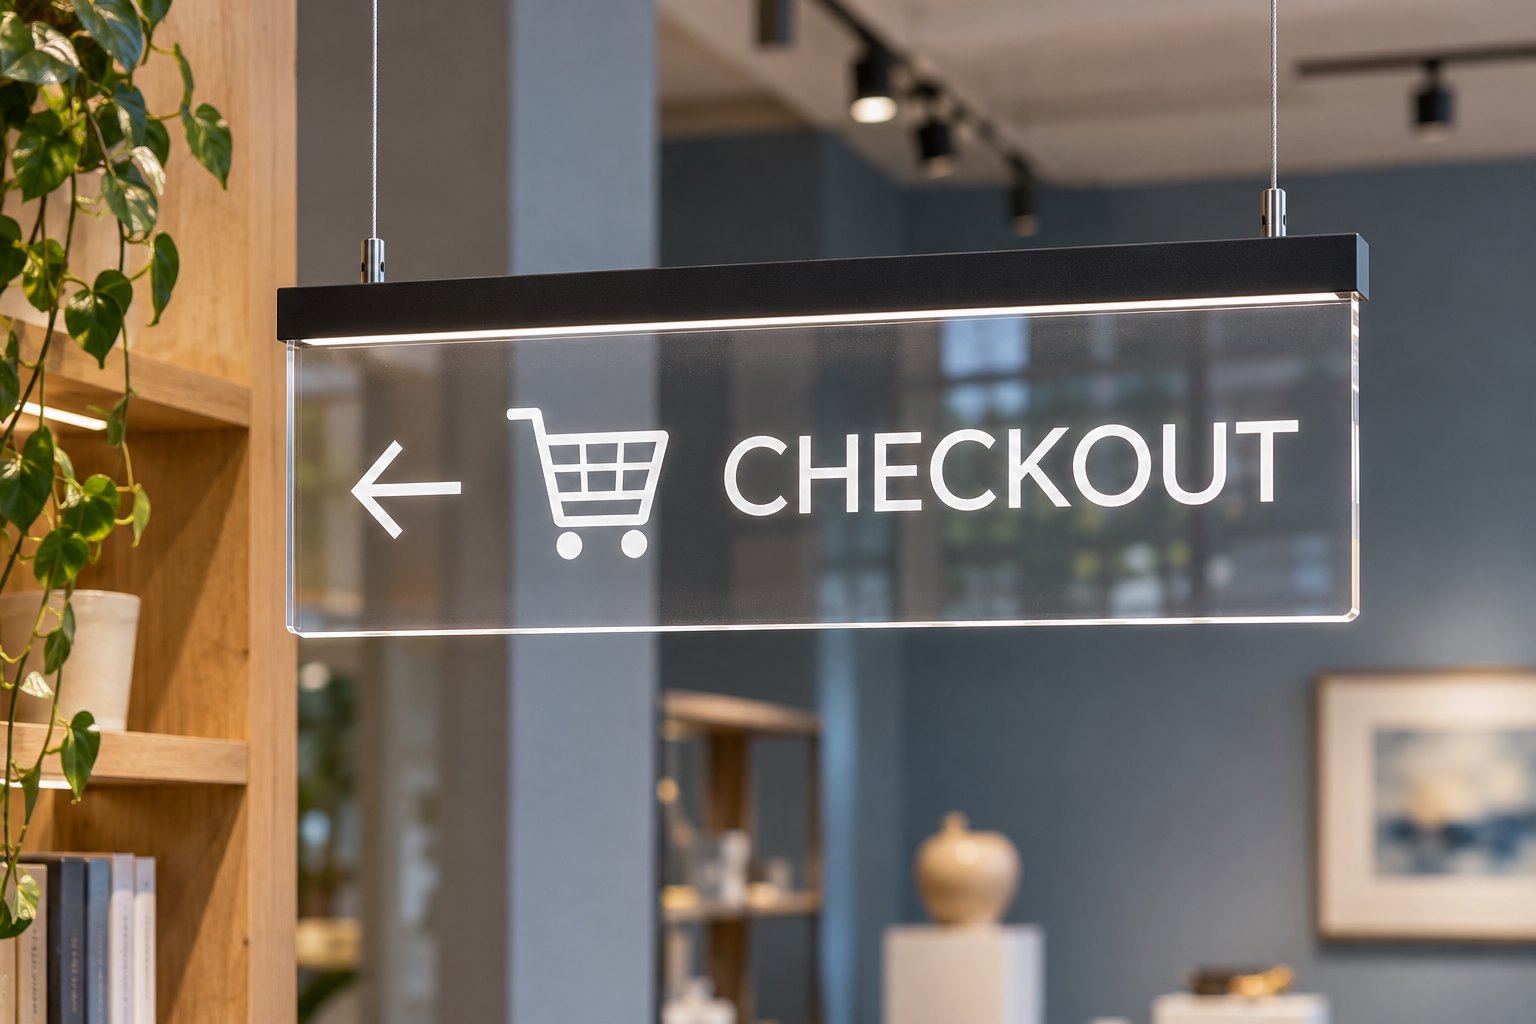
The arrow sits above the customer route with no stand on the floor.
Interior wayfinding · Ceiling-suspended acrylic
A clear route to checkout
The brief
Make the checkout direction visible before shoppers reach the aisle junction.
Installation approach
Set the drop height and panel angle for the main approach. Route power back to the ceiling fixing area.
Check before ordering
Confirm the arrow direction on a floor plan, check readability from the approach and have the installer verify the fixing points.
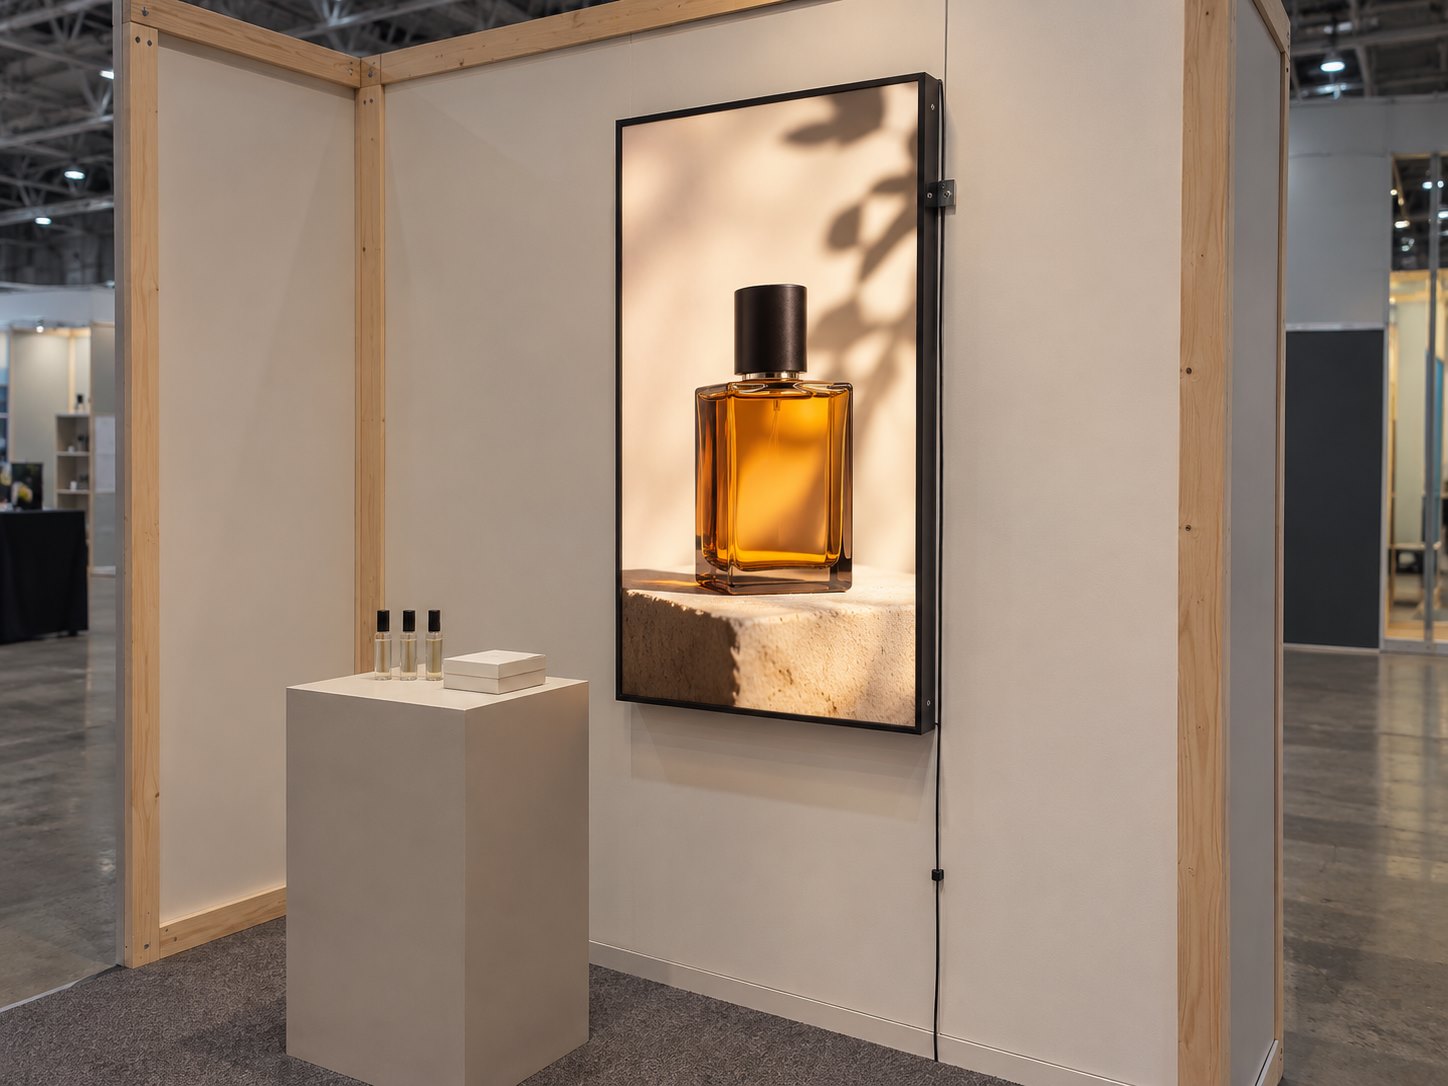
The slim frame sits against the booth panel, with power routed down the side.
Fragrance pop-up · Removable slim wall frame
A poster frame for a temporary booth
The brief
Use one large image to draw people toward the sampling plinth and pack the display away after the event.
Installation approach
Agree the mounting method with the booth contractor and keep the cable outside the visitor path.
Check before ordering
Ask for the venue’s permitted fixing method, available power and delivery or collection slot.
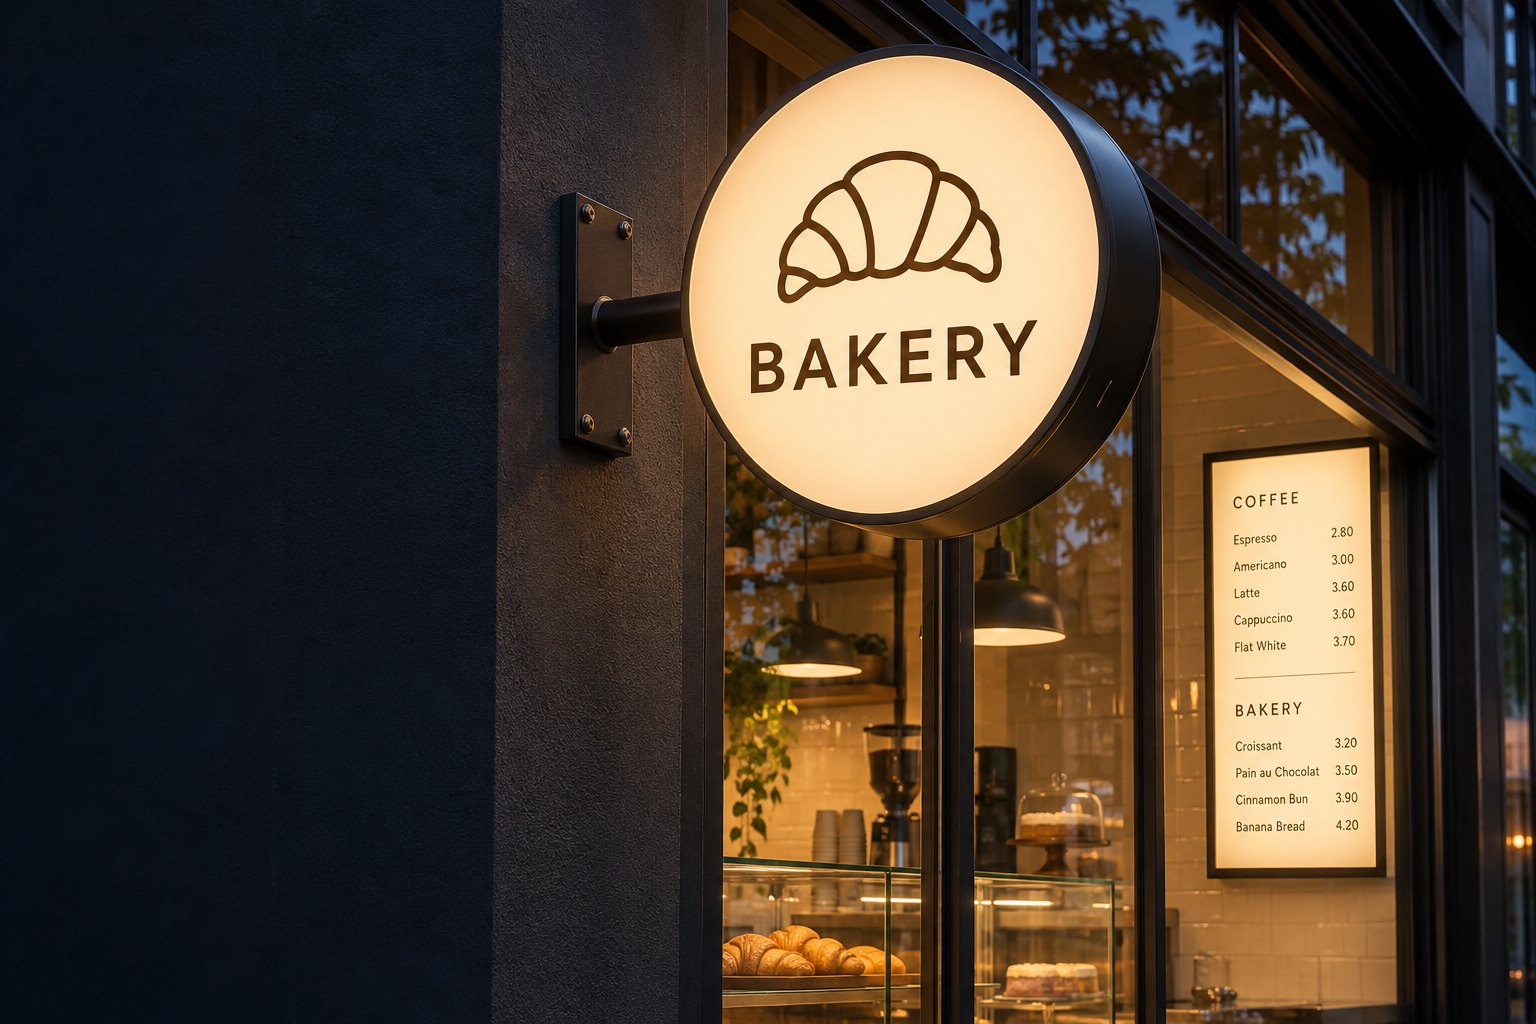
The projecting sign serves the approach along the pavement. The menu is visible nearer the entrance.